 |
| Blog title in floating header bar: text vs. image |
Background
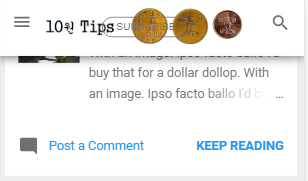
Right now, even if you add a header image to your blog (via the Layout page), the floating bar thing that appears when you scroll down will show just the name of your blog in text - not the logo image you love [Compare the blog title in the two images above]. Note this only applies to the four new themes: Contempo, Notable, Soho, and Emporio.
So this post will show one way to display an image in that floating header bar. It doesn't even have to be the same image. You could have one larger logo for the top of the blog page itself, but a different thinner logo to fit nicely in the floating bar.
This is adapted from an old trick for showing the image in Dynamic Views templates. Basically I will just set the background of the floating header element as an image. That way I can do it all via CSS rather than messing around with the blog template.
Let's start.
We start by hiding the blog name text from the floating bar. Otherwise it will cover the image and look ugly.
So this post will show one way to display an image in that floating header bar. It doesn't even have to be the same image. You could have one larger logo for the top of the blog page itself, but a different thinner logo to fit nicely in the floating bar.
This is adapted from an old trick for showing the image in Dynamic Views templates. Basically I will just set the background of the floating header element as an image. That way I can do it all via CSS rather than messing around with the blog template.
Let's start.
All the following code should be pasted into (Theme → Customize → Advanced → Add CSS)
Step 1 - Remove the blog title text
We start by hiding the blog name text from the floating bar. Otherwise it will cover the image and look ugly.
.centered-top-container.sticky .widget.Header h1 {display: none;}Step 2 - Add the image
I'll assume you have your image already uploaded somewhere. The best way is just to insert the image into a Blogger post, and grab its URL by switching to the "HTML" compose view. You don't even need to post it; just uploading it once to a post draft is enough.
Your image should have a URL like:
https://2.bp.blogspot.com/-blahblahblah/blahblah/blahblah/blahblah/s380/filename.pngPay attention to that number. To get the best image size to use here (i.e. the smallest that's still clear enough to read), adjust that number manually first. For me in my example, s280 was the best size.
Hold on to that image URL.
Now paste the following into your blog's CSS:
.centered-top-container.sticky .blog-name, body.item-view .blog-name {
    background: url(https://2.bp.blogspot.com/-blahblahblah/blahblah/blahblah/blahblah/s380/filename.png) no-repeat center;
    height: 65px;
}
Replace the URL there with your own image URL.
Also check the height size. 65px looked best for me. Change the number to whatever size suits you and your chosen image.
Also check the height size. 65px looked best for me. Change the number to whatever size suits you and your chosen image.
Step 3 - Remove the subscription button
So far it will look like this:
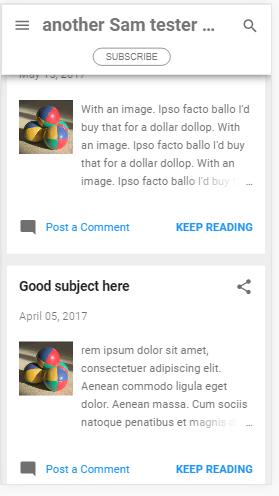
 |
| Subscribe button still there. Let's remove that. |
We could either move the subscribe button, or just hide it completely. I think it's better to remove it. Add this code to hide it:
.centered-top-container.sticky .blog-name .subscribe-section-container {display: none;}
You could just move it down, in which case you would get this:
 |
| Subscribe button moved below the logo image |
But I preferred just hiding it (as above), and relocating the blog subscription widget to the sidebar.
This isn't necessary, but if the image spacing looks weird at all, you can also try just changing the padding (the white space around) with this:
Step 4 - Padding (optional)
This isn't necessary, but if the image spacing looks weird at all, you can also try just changing the padding (the white space around) with this:
body.collapsed-header .centered-top-container .blog-name {padding: 30px;}Play around with the number until you find a good look. If you do this, you could also just remove the "height" portion of the Step 2 code.
Again here's what it would look like before and after:
Final look
Again here's what it would look like before and after:
 |
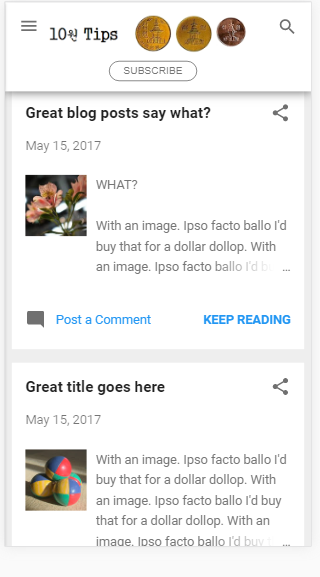
| Before: text title |
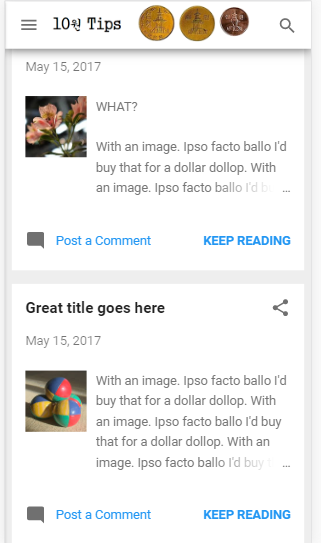 |
| After: Image title |
Those of course are mobile views. Here's how it looks on desktop:
 |
| Desktop view with image header |
0 Response to "Display blog title image in Blogger's new floating header bars"
Post a Comment